Exchange 2010 brings a new feature that displays an info message when the user wants to send an e-mail. This is very useful for restricted e-mail addresses / unmonitored mailboxes / slow-response users or to alert the user that the message size exceeds senders send list / when sending e-mail to large number of recipients / sending e-mails to invalid domains / and more.
You can set a mailtip for:
– mailbox
– distribution group
– dynamic distribution group
– mail contact
– mail enabled folder
In our first example I am going to show you how to set an mailtip for a single mailbox:
1. First Way:
Open Exchange Management Shell and run this command:
Set-Mailbox -identity “aurel.proorocu” -MailTip “Specialist IT”
*Here you replace aurel.proorocu with the alias you want to set the mailtip to, and you replace the Specialist IT with your message.

Second Way:
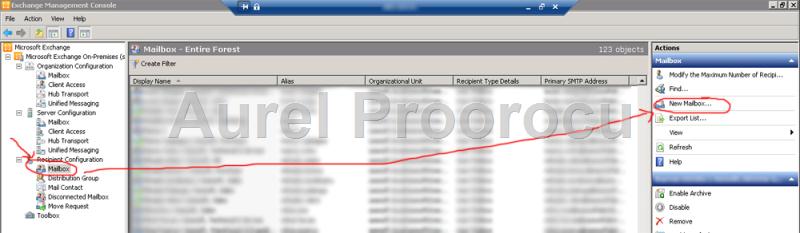
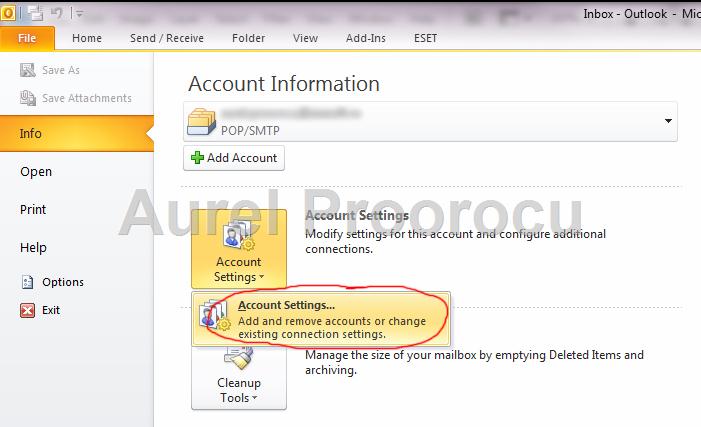
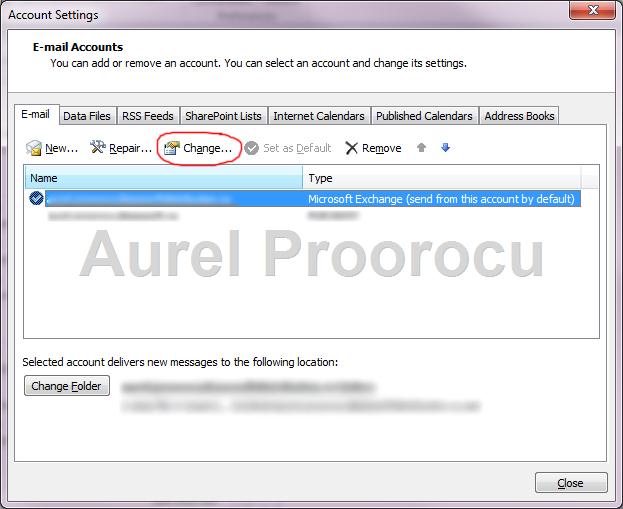
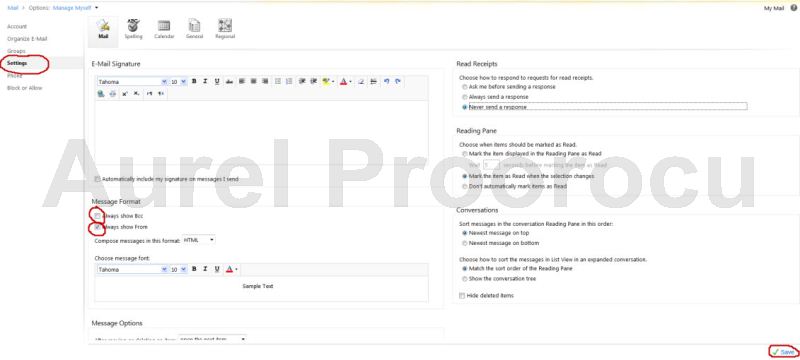
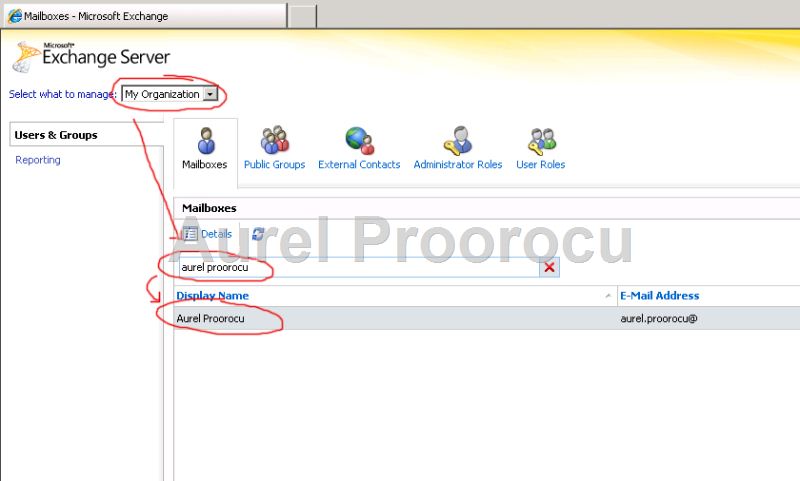
a. Open and login into ECP ( Exchange Control Panel ) with an account with admin rights, then select“My organization” and after that select Users & Groups from the right menu. Then go on the Mailboxesand search for the account you want to set the mailtip to. After you find it double click on it and move to the next step.
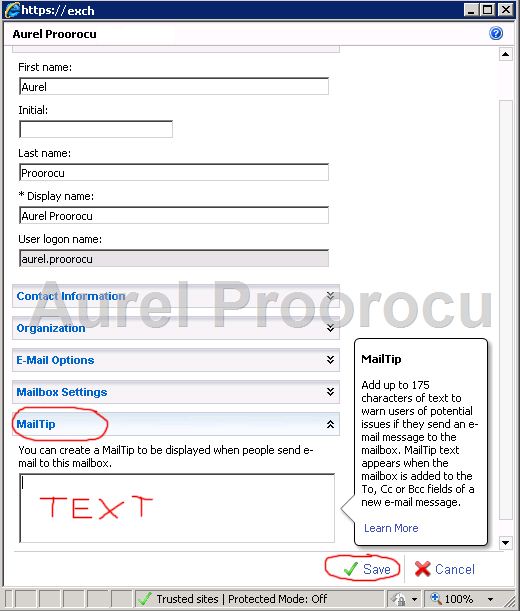
b. In the new window that will appear, click on the Mailtip, and on the box that enlarges enter the mailtipfor that account. After you finish click SAVE:
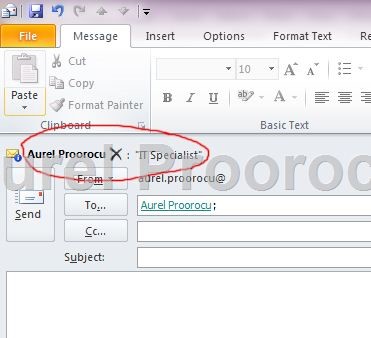
2. After you had set the mailtip the message will appear in OWA or Outlook, like this:
OWA:
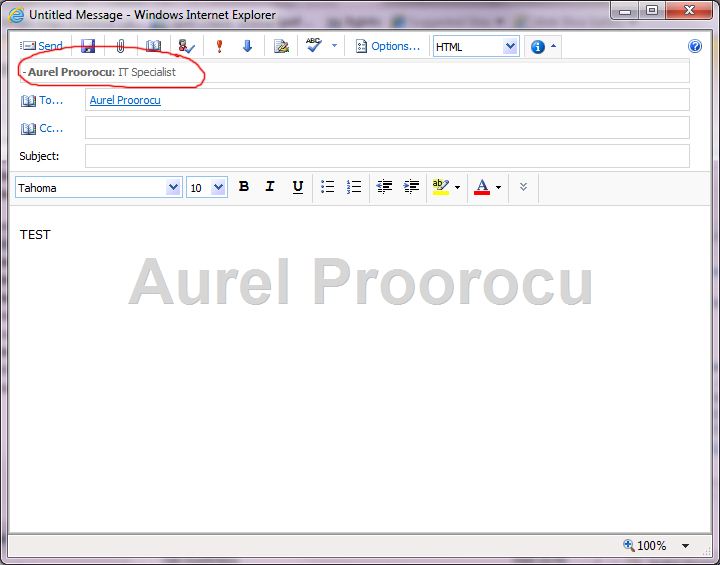
Outlook:

3. Enjoy your new Mailtip, and read the advanced examples:
ADVANCED EXAMPLES:
1.The command to see the current mailtip configuration on your server:
Get-OrganizationConfig | fl *mailtips*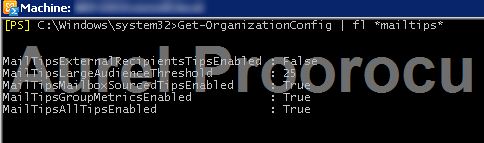
2. If you want to enable / disable mailtips you can use this command:
ENABLE: Set-OrganizationConfig -MailTipsAllTipsEnabled $true
DISABLE: Set-OrganizationConfig -MailTipsAllTipsEnabled $false
( *Mailtips are by default enabled )

3. If you want to set the mailtip for large audience ( it would display to the sender if he added more then X recipients in the TO box ), you have to use the following command:
Set-OrganizationConfig -MailTipsLargeAudienceThreshold 10
( *By default it is 25, you can check your own server using the cmdlet from point 1 )

4. You can alert the user that an address is an external one using mailtips. The command is:
ENABLE: Set-OrganizationConfig –MailTipsExternalRecipientsTipsEnabled $True
DISABLE: Set-OrganizationConfig –MailTipsExternalRecipientsTipsEnabled $False![]()
5. You can enable the Mailtips for mailbox data ( Out Of Office and Mailbox FULL Alert ) with the following command:
ENABLE: Set-OrganizationConfig -MailTipsMailboxSourcedTipsEnabled $true
DISABLE: Set-OrganizationConfig -MailTipsMailboxSourcedTipsEnabled $false
![]()
6. You can configure the Group Metrics ( Group metrics data provides information on the size of distribution groups and dynamic distribution groups. The exchange query many LDAP requests to ActiveDirectory to get group membership information.This could affect the the performance, and ti eliminate this issue Exchange 2010 uses the Group Metric Data which can be set to run during low-activity hours. ).
ENABLE: Set-MailboxServer AURELSERVER -GroupMetricsGenerationEnabled $true
DISABLE: Set-MailboxServer YOURSERVER -GroupMetricsGenerationEnabled $false![]()
ENJOY.
And if you encounter any problems feel free to comment / contact me.