At least one send connector must be set up, to ensure that the Exchange 2010 Server knows how to route the outgoing mail requests.
In this example we will create one send connector for the Hub Transport server that will route ALL the outgoing messages. The Hub Transport server will use DNS along with public MX records that were published by other mail servers.
A. Create a Send Connector using the EMC ( Exchange Management Console )
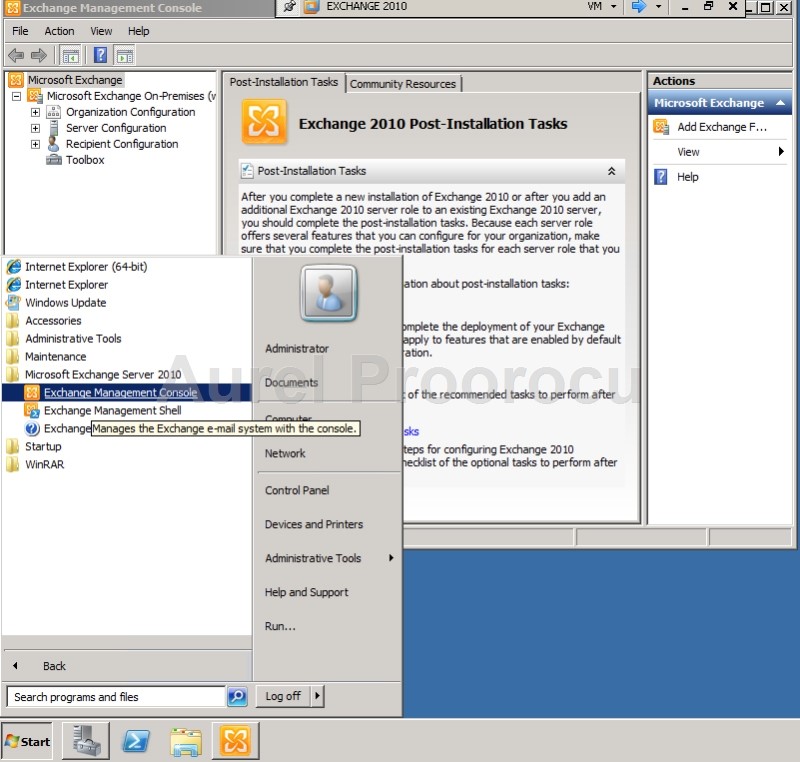
1. Open EMC ( Start / All Programs / Microsoft Exchange Server 2010 / Exchange Management Console ):
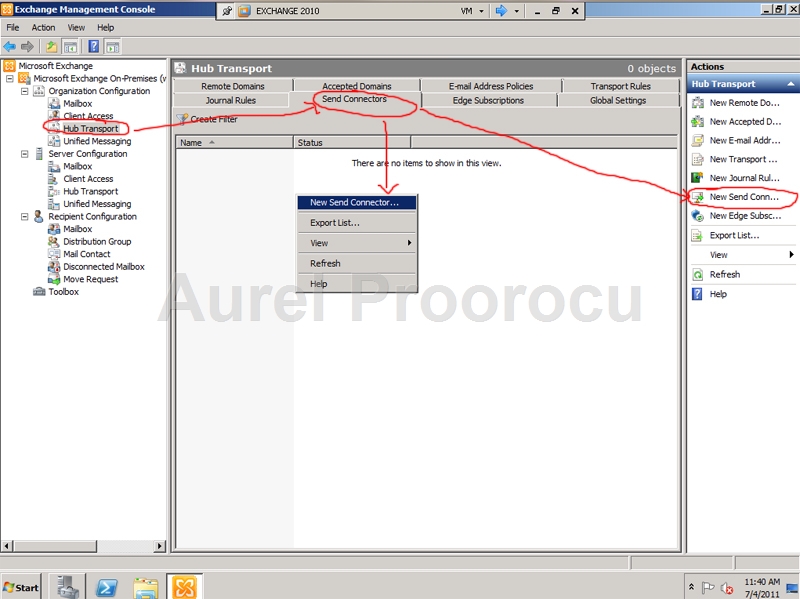
2. Click on Organization Configuration to expand, then click on Hub Transport. Now go to Send Connectors tab, and the right click on the white space and select New Send Connector ( like in the screenshot below ) or click on New Send Connector in the right pane.
3. The wizard launches, and at the first step we must select the Name and the intended use for the Send Connector ( chose the one that fits you best ):
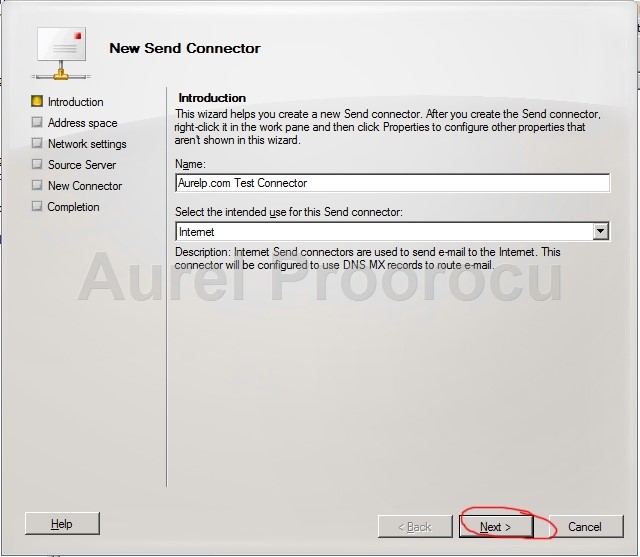
*More info about intended use for the Send Connector options:
Custom Select this option to create a customized connector to connect with systems that aren’t servers running Exchange 2010.
Internal Internal Send connectors send e-mail to servers in your Exchange organization. This connector is configured to route e-mail to your internal Exchange servers as smart hosts.
Internet Internet Send connectors send e-mail to the Internet. This connector is configured to use Domain Name System (DNS) MX records to route e-mail.
Partner Partner Send connectors send e-mail to partner domains. This connector is configured to only allow connections to servers that authenticate with Transport Layer Security (TLS) certificates for SMTP domains included in the list of domain-secured domains. You can add domains to this list by using theTLSSendDomainSecureList parameter in the Set-TransportConfig command.
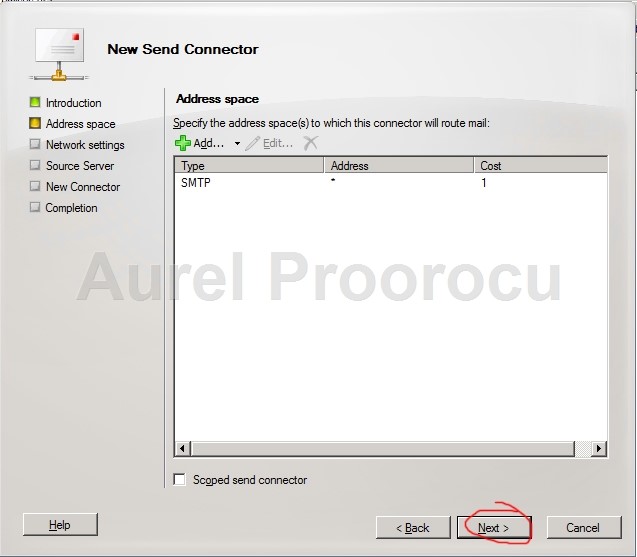
4. At the next step we specify the address space(s) on which the connector will route mail. Click on ADD, and then select the Address. In our case we will use * and we check the include all subdomains.
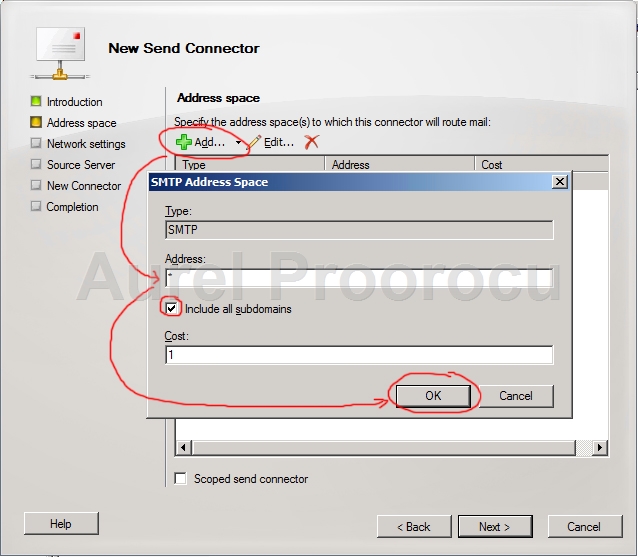
*More info about this step:
a. A “*” in the Address indicates that this connector will route all domains that do not match the internal organization’s list of accepted domains.
“Domain.com” in the address indicates that this connector is dedicated to sending email to domain.com addresses.
b. “*.aurelp.com” in the address space indicates that this connector is used for sending email to recipients in aurelp.com and any sub-domains.
c. Cost is used to set the priority of this connector, used when two or more connectors are configured for the same address space. The lower the cost higher the priority.
d. A Scoped Send connector identifies which Hub Transport servers can use this connector. Send connectors are objects stored in Active Directory and, as they are also an organization configuration object, can normally be used by any Hub Transport servers in the organization. If you want to restrict the scope of the Send connector, so as to limit its use to just within the AD site of the Hub server it was created on, then this option needs to be checked.
5. After you configure the Address space, click NEXT:
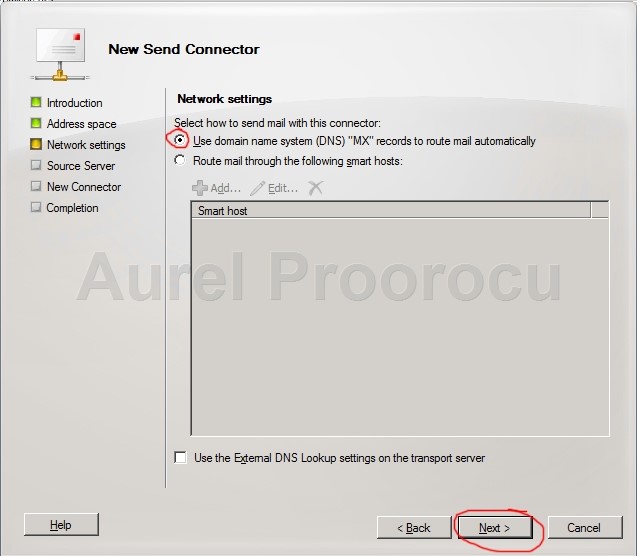
6. At the Network Settings step we will chose the first option then click NEXT.
*More info about this step:
Route mails though to one or more smart hosts:
The option to use Domain Name System MX records to route email automatically should be taken when you want your Send connector to talk directly with the destination SMTP server’s gateway and deliver the emails to that destination gateway itself. You need to make sure that DNS is properly configured for the server to resolve the Destination MX Records.
Alternatively, if you select the route mail through the following smart hosts option, you will need to supply one or more IP addresses or the FQDN of the smart host which is going to accept the email from this connector. Obviously, you need to make sure that the smart host is capable of delivering emails to the destination SMTP server.
The options available for control authentication with the smart host servers are:
None: The smart host does not require any authentication, and it accepts anonymous connections.
Basic Authentication: You will need to provide the smart host with an appropriate username and password to authenticate the connection. If you have multiple smart hosts, then you will need to make sure that they all allow access to the same username and password. Basic Authentication sends the credentials as plain text, and checking Basic authentication Over TLS will enable encryption on the communication.
Exchange Server Authentication: This option authenticates the connection to a smart host using an Exchange authentication mechanism, such as TLS direct trust or TLS\Kerberos.
Externally Secured: Select this option if the connection to the smart host is secured by external means, such as being physically secured over a private network or secured using Internet Protocol security (IPsec).
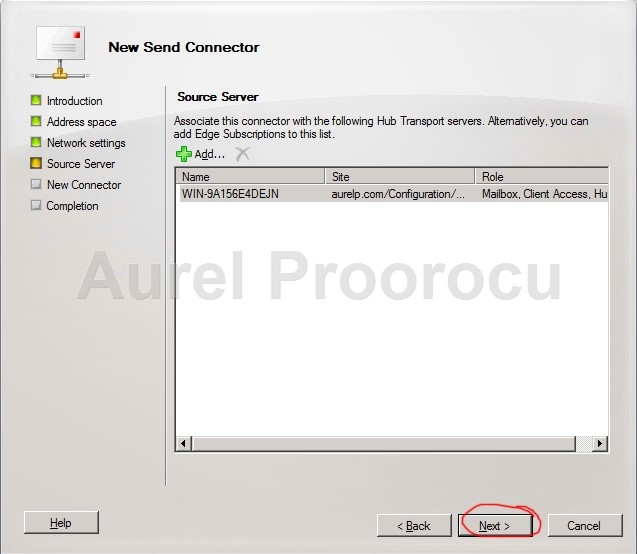
7. At the next step we set the source server. Ensure that the correct one is selected ( Adding only required servers helps to ensure that only specific servers are able to participate in email delivery to the Internet or other partner networks. ), then click NEXT:
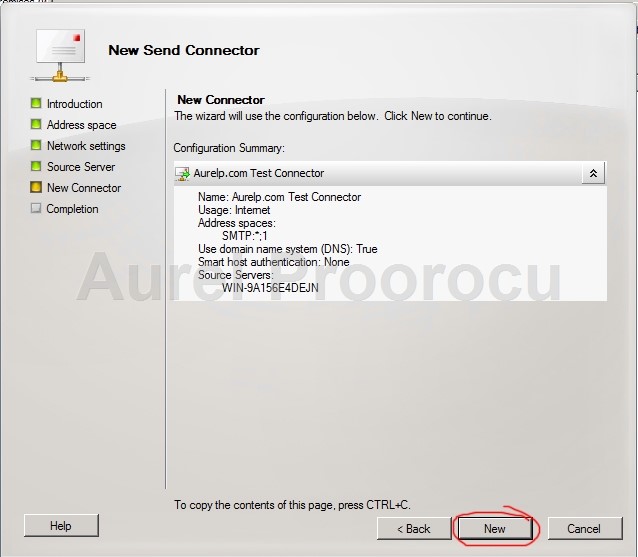
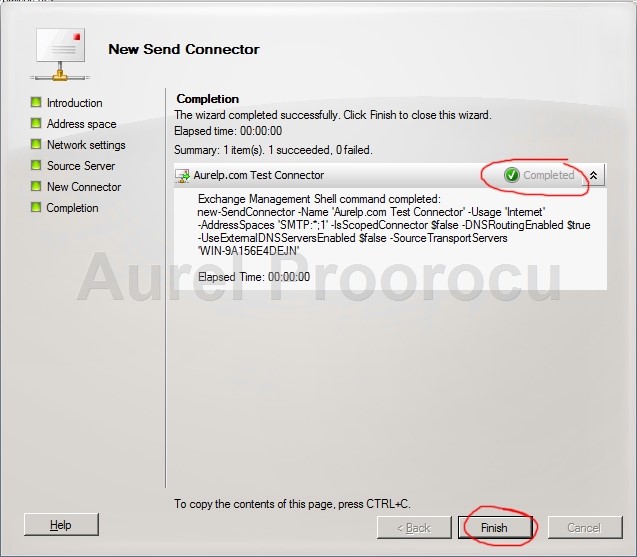
8. At the final step we review the summary. When ready click NEW:
9. After the Completed status appears, you can click Finish:
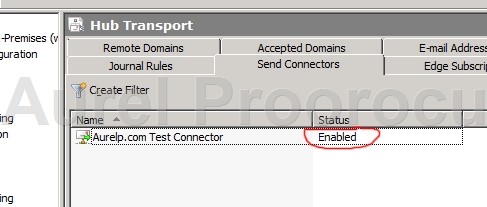
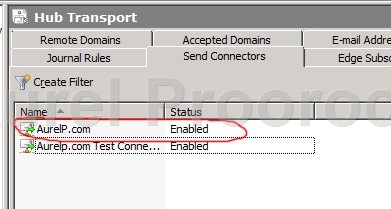
10. And now the new Connector will be ENABLED in the Send Connectors Tab:
B. Create a Send Connector using the Exchange Management Shell
Info: We will create a Send Connector who will route mail through the smart hosts ( 192.168.0.2 and 192.168.0.3 ) with the Authentication: None.
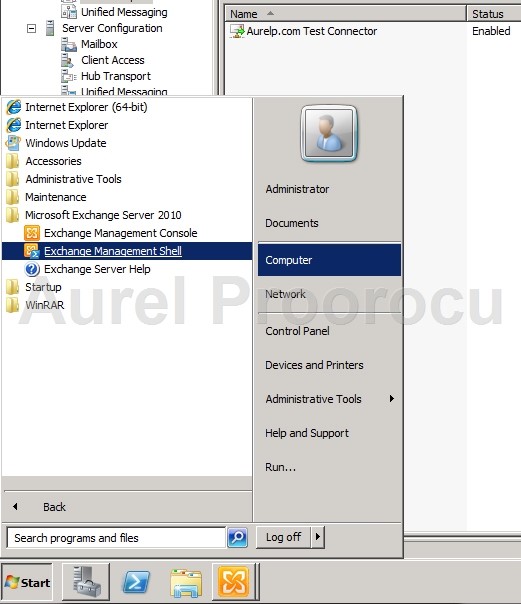
1. Open Exchange Management Shell ( Start / All Programs / Microsoft Exchange Server 2010 / Exchange Management Shell )
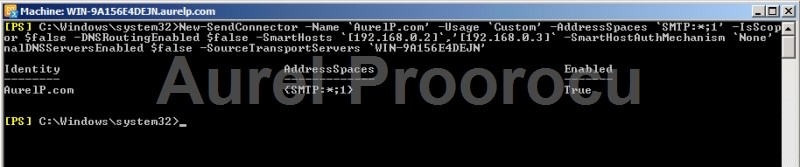
2. Run the following command:
New-SendConnector -Name `AurelP.com’ -Usage `Custom’ -AddressSpaces `SMTP:*;1′ -IsScopedConnect or $false -DNSRoutingEnabled $false -SmartHosts `[192.168.0.2]`,’[192.168.0.3]` -SmartHostAuthMechanism `None’ -UseExternalDNSServersEnabled $false -SourceTransportServers `WIN-9A156E4DEJN’
*replace
AurelP.com with the name you want to set for your new connector.
192.168.0.2 and 192.168.0.3 with the smart host servers you want to use
WIN-9A156E4DEJN with the name of the Source Transport Server
*SmartHostAuthMechanism `None’ -> None is the authentication for the smart host.
3. After the shell command had been run, the new connector will also appear in the Send Connectors Tab in the EMC.
4. If you want to check the setup of one connector, you can use the Sendconnector cmdlet:
Get-sendconnector “Aurelp.com”
*replace
AurelP.com with the name of the connector you want to check.

ENJOY.
And if you encounter any problems feel free to comment / contact me.