This is probably one of the most-wanted tutorial for junior administrators of Exchange 2010 all-around the world… So here it is: How to configure a shared mailbox in Exchange 2010 the Step-by-step version:
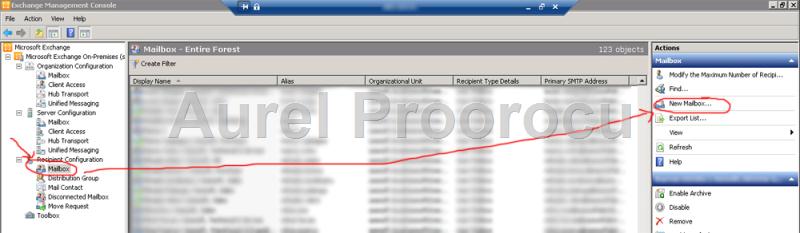
1. Open the Exchange Server Management Console, then go to Recipient Configuration, and click beneath that on the Mailbox Section, after the section loads, click on New Mailbox ( from the right side panel ).
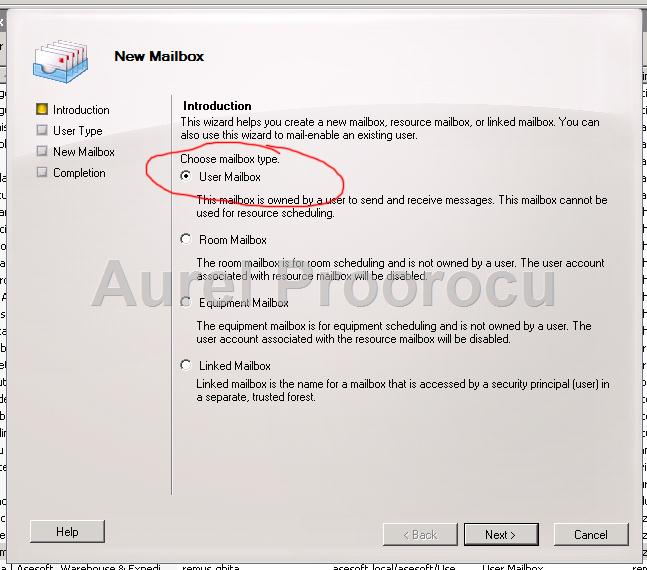
2. At this step you select the type of mailbox you want to create. Usually it is User Mailbox, so this is the option that we will use in this tutorial, then click Next.
If you are new to this, here is a little wiki about what each option is used for:
User mailbox: This is a traditional mailbox.
Room mailbox: This is a mailbox specifically assigned to Meeting Rooms. Its associated user account will be disabled in Active Directory.
Equipment mailbox: This is a mailbox specific to resources, (i.e. TV, Projector and so on). As with a Resource mailbox, this kind of mailbox will disable a user in Active Directory.
Linked Mailbox: This kind of mailbox will be used in environments with multiple forests.
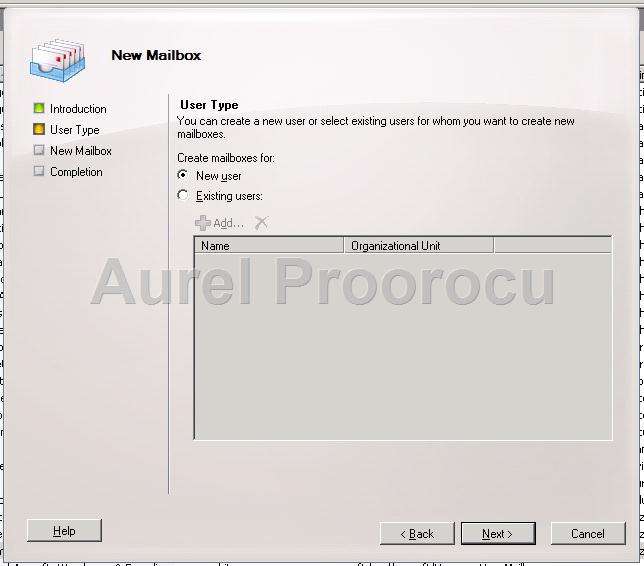
3. Here you can select a New User mailbox, or if the user is already created select Existing users, then click next:
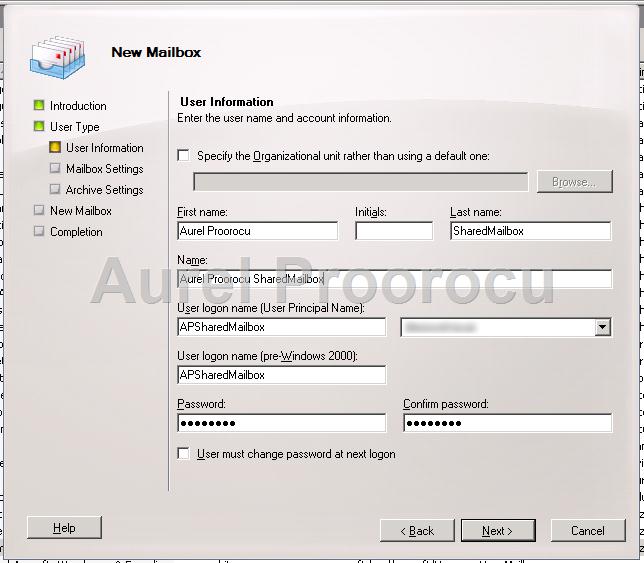
4. If the user is new, you will be prompted to complete the user-details, insert them and then click next:
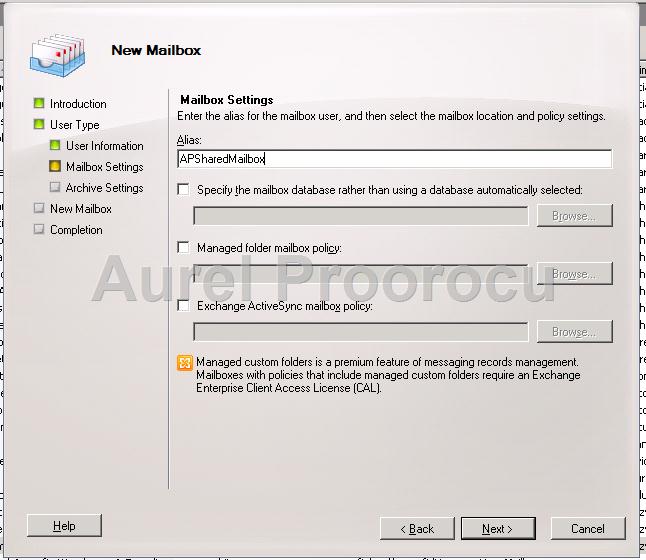
5. At the next step you must select the Alias, that is usually the same as the username. Then you select the mailbox you want to put the new e-mail account in ( if you don`t select, it will auto set the default one ).
The next options are for Managed folder mailbox policy ( if you have more then one ), and the Active Sync mailbox policy ( if you also have more then one ).
Select the options that fits you best, then click next:
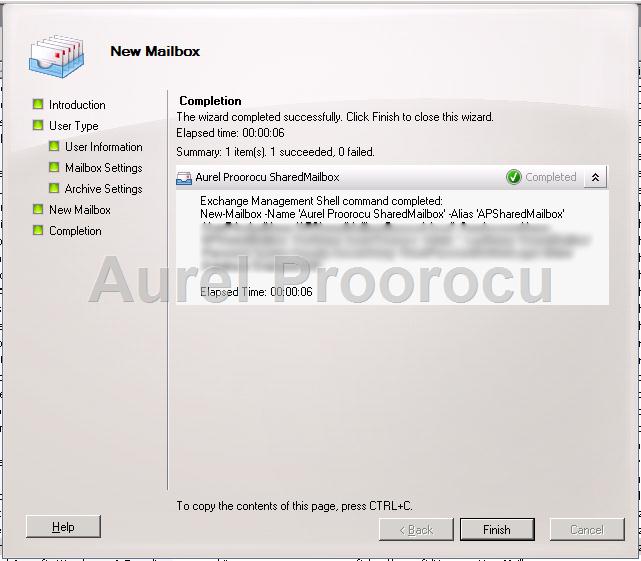
6. This is the final step of creating a new mailbox. After you see the Completed status you can clickFinish.
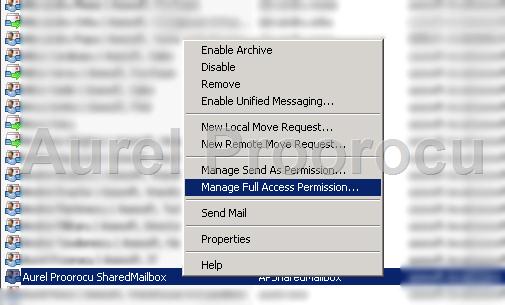
7. After you created the mailbox, go back to Recipient Configuration / Mailbox and find the newly created one and right click on it, and select the Manage Full Access Permission option.
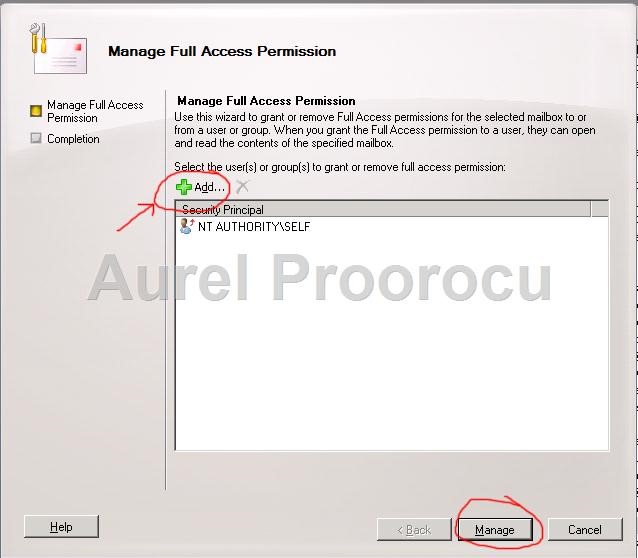
8. A new window will appear, and here you add the users that you grant permissions to this newmailbox. You can add users and/or groups. When you finished setting the permissions, clickManage.
9. After this, you can close the Exchange Server and go to the users that will use the shared mailbox. Here you open Outlook ( our tutorial will be based on Outlook 2010 ), go to File tab / Info / Account Settings, and click on the Account Settings Section.
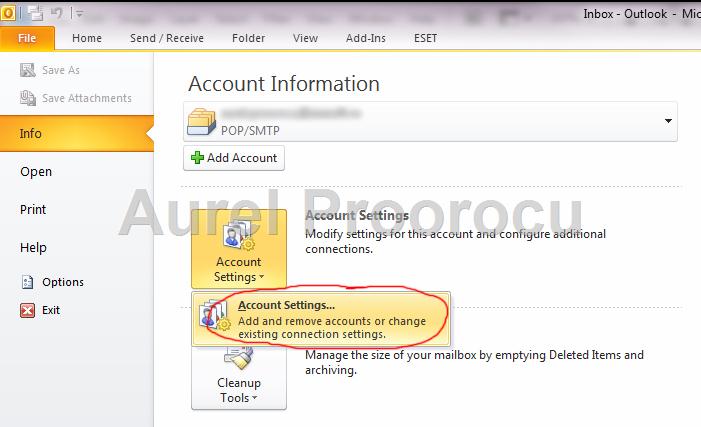
10. Here go to the E-mail tab, select the Exchange account, and then click on the Change button:
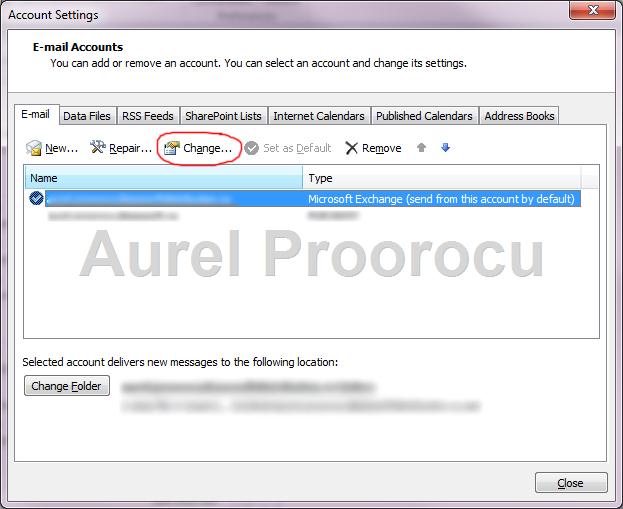
11. A new window will appear, and here click on More Settings:
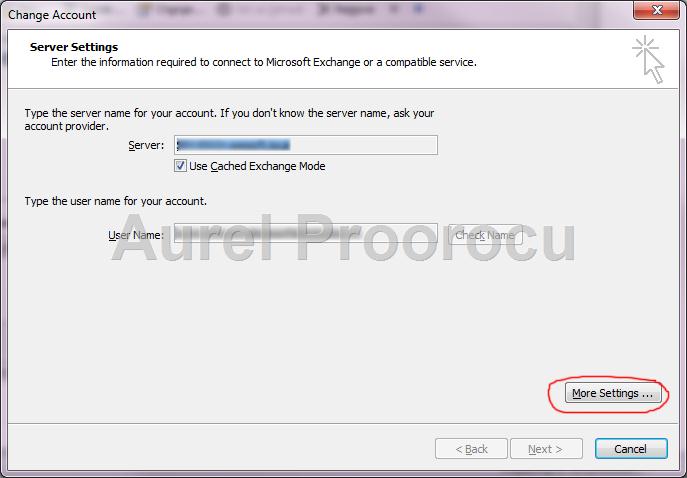
12. In the new window that appears, select the Advanced Tab, then click Add, and insert theSharedMailbox Alias, then click Ok :

13. After that, click Ok again:
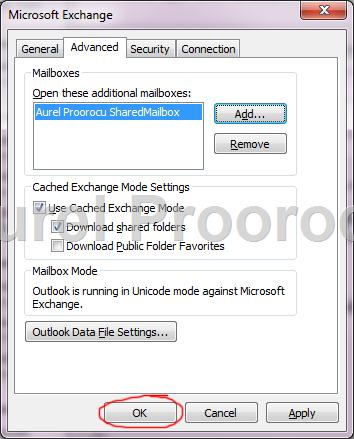
14. And now you can view the newly configured SharedMailbox in Outlook:
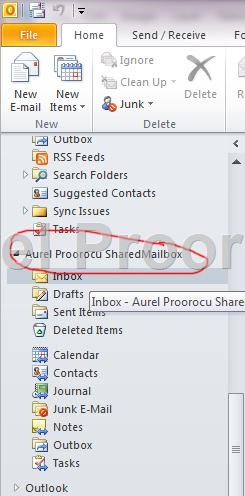
Enjoy your new SharedMailbox.
If you encounter any problems feel free to comment / contact me