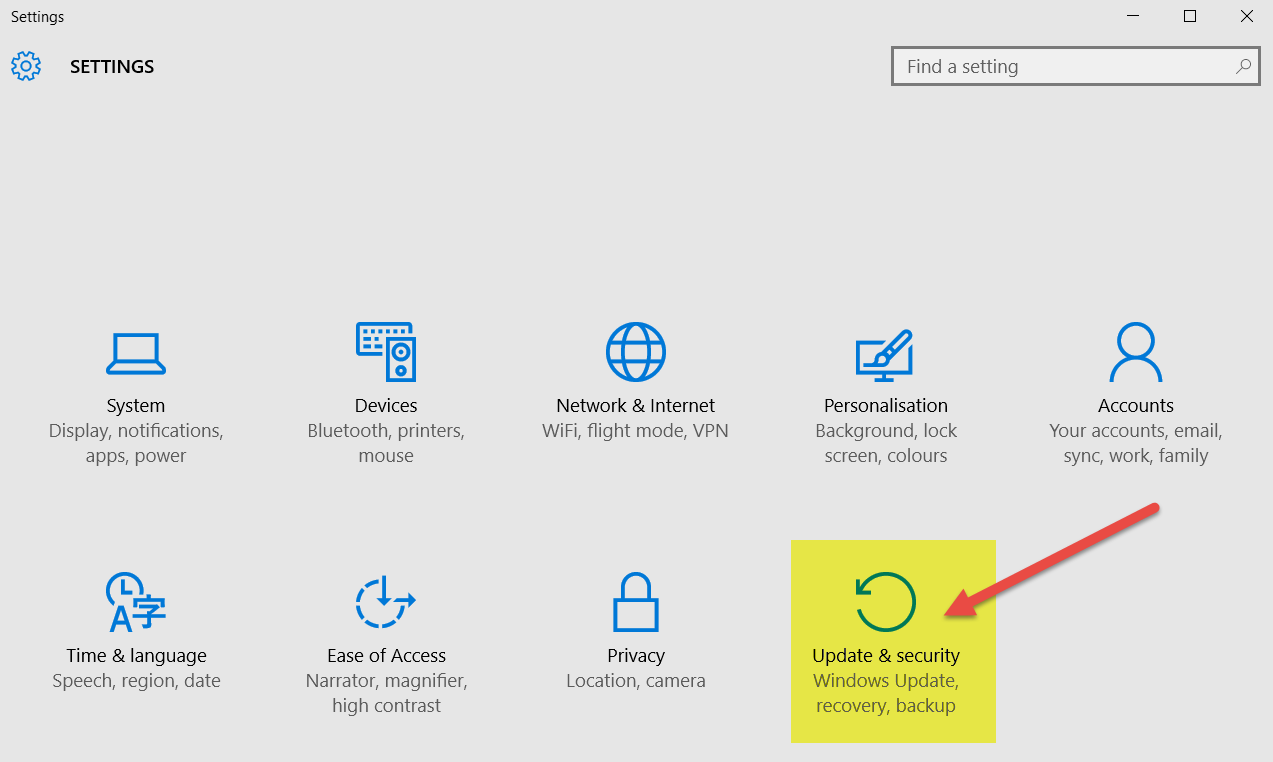
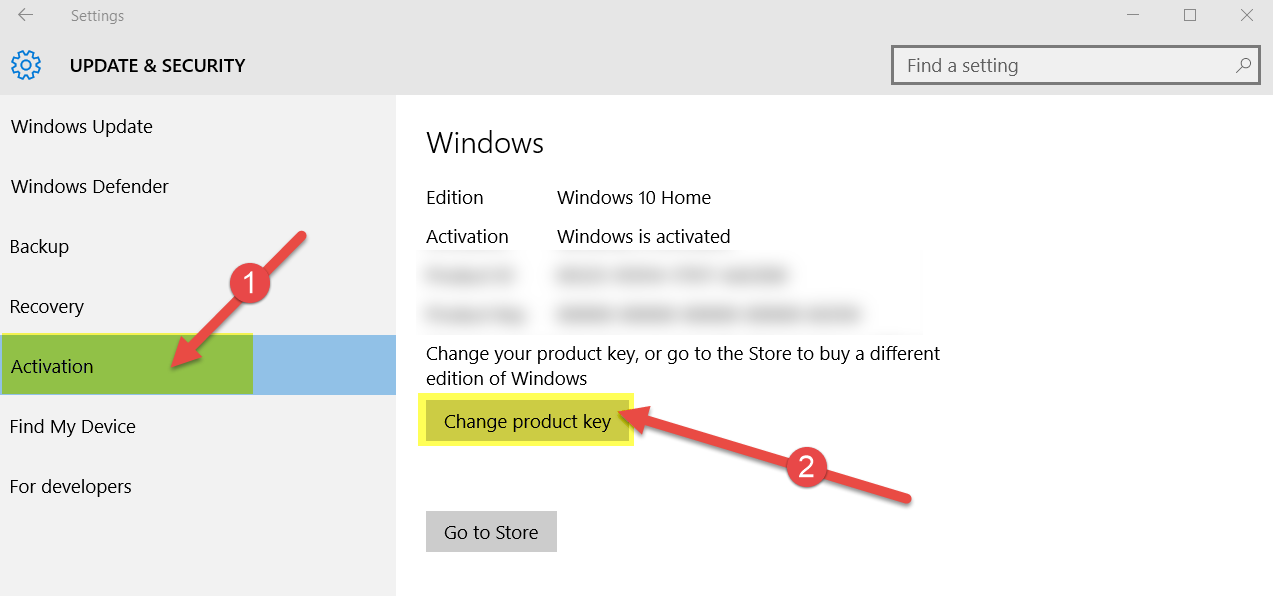
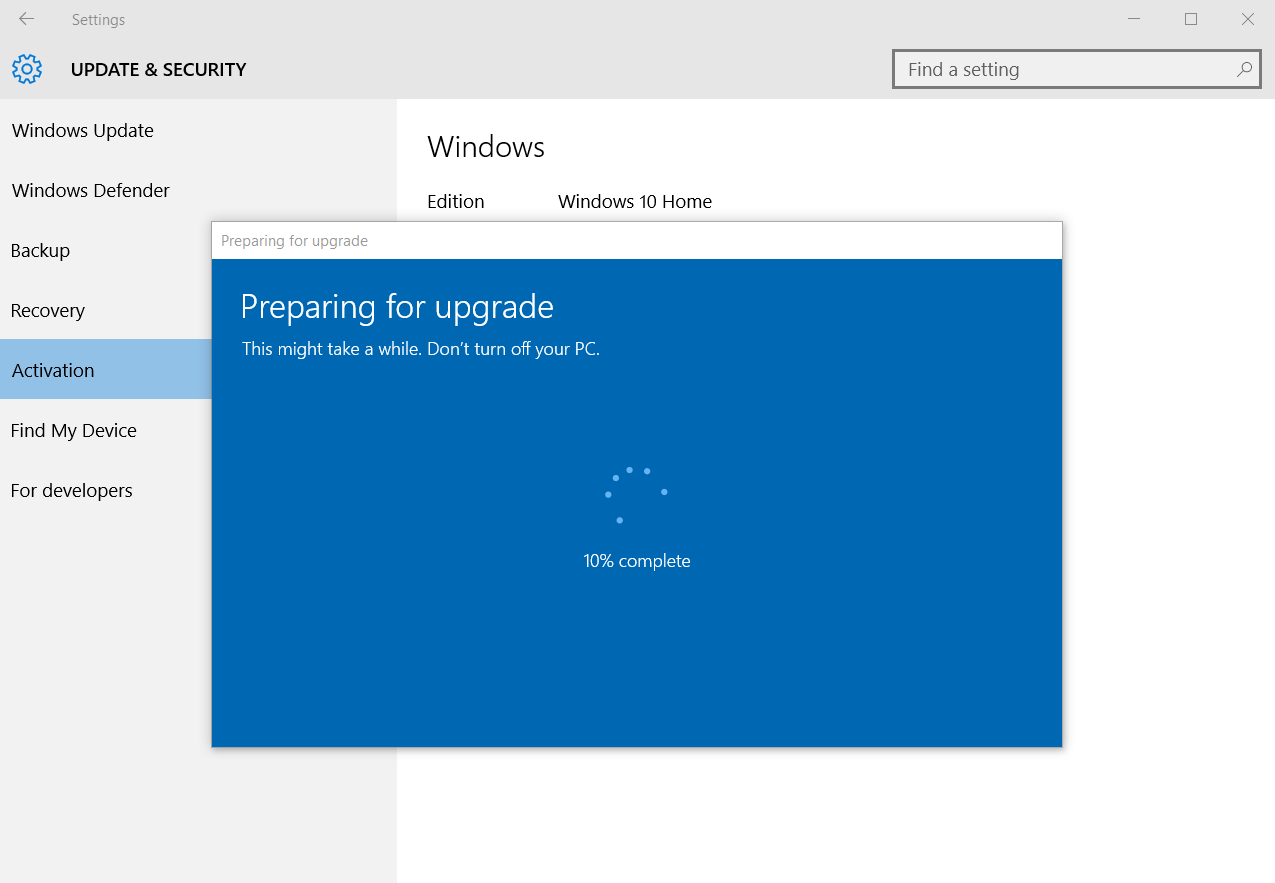
<!> Important: BitLocker is not available on Windows 10 Home Edition (check here how you can upgrade)!
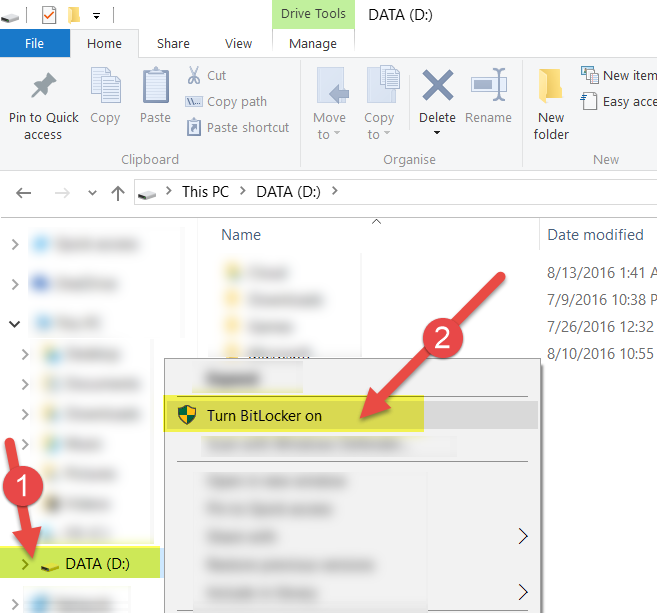
1. Open My Computer and right click on the Drive (HDD, USB Stick, USB HDD) you want to Encrypt / click on Turn BitLocker on:
2. You can either use a password or a smart card to unlock the drive. For this example we will use a password / click Next: 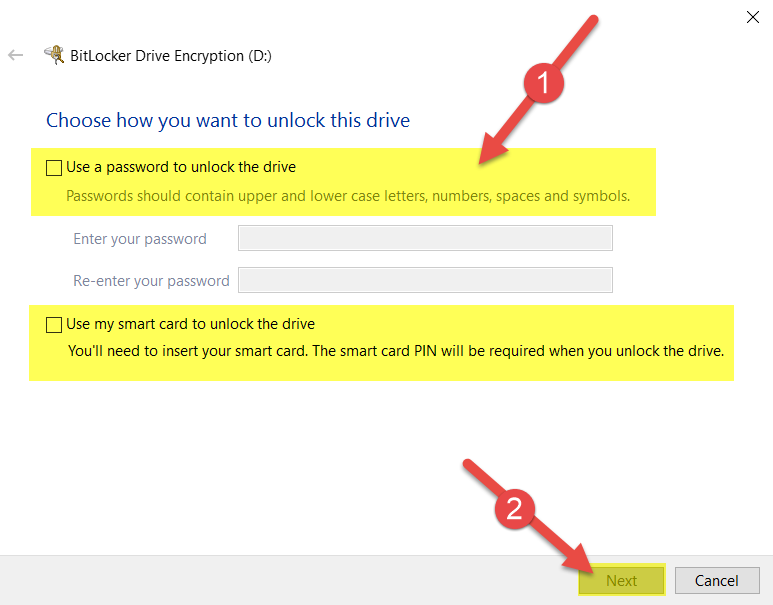
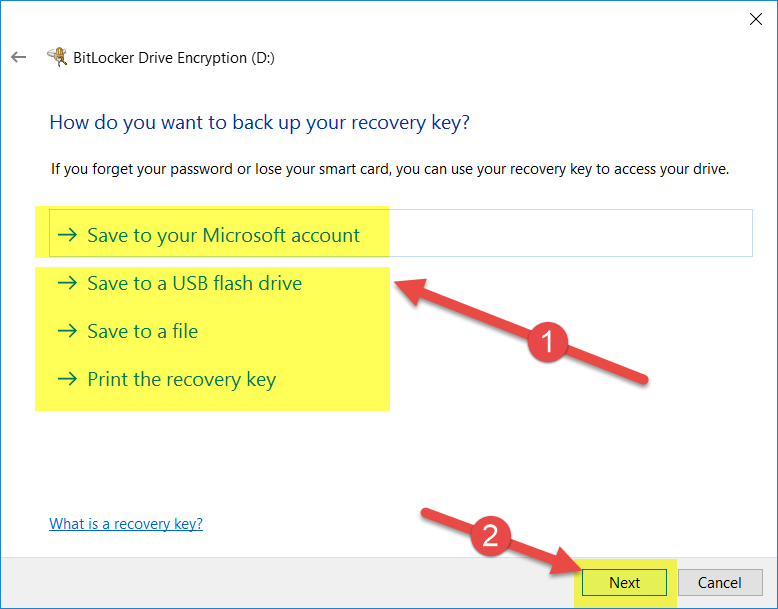
3. You have multiple options to save a recovery key. For this example I will save it to my Microsoft Account / Click Next:
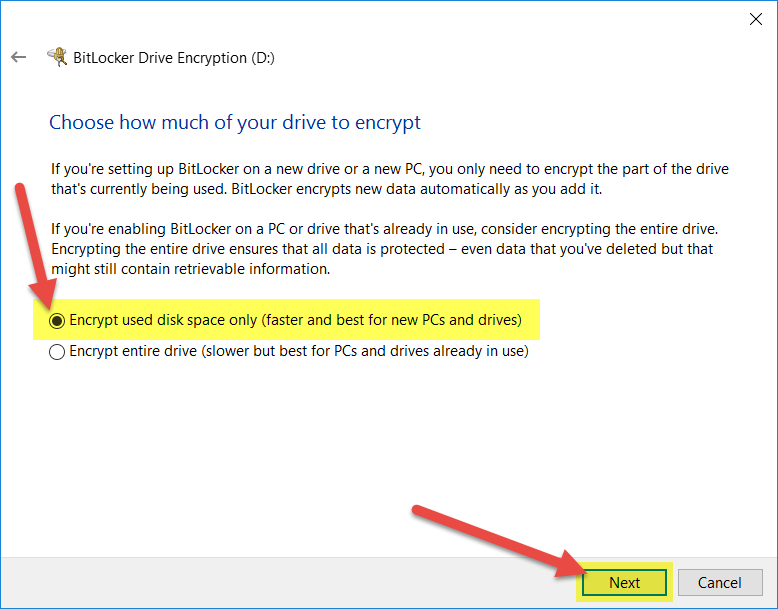
4. At this step you need to select how much of the drive you need to encrypt. If you just setup a new Computer select option #1, if you are installing on an existing computer select #2 / Click Next:
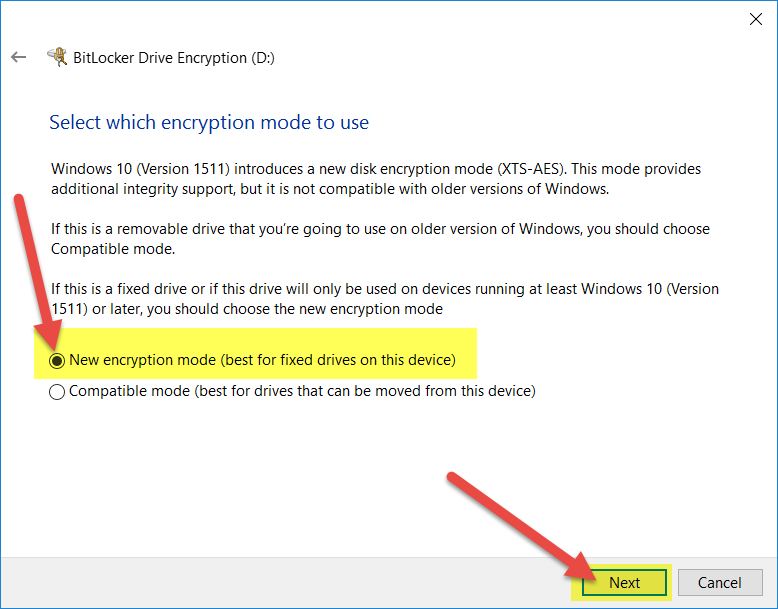
5. If you are planning to use the Encrypted drive on other Windows Versions select Compatible. If not select New Encryption Mode / Click Next:
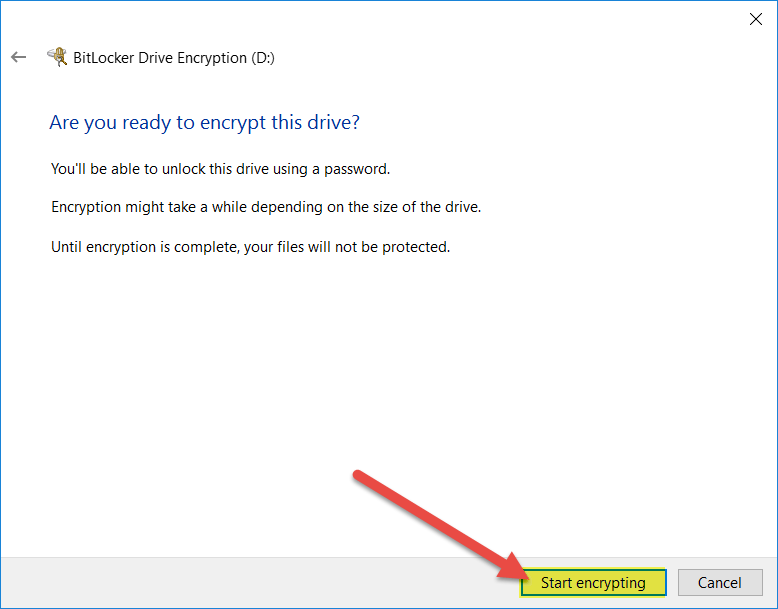
6. We reached the last step. Confirm by clicking Start encrypting:
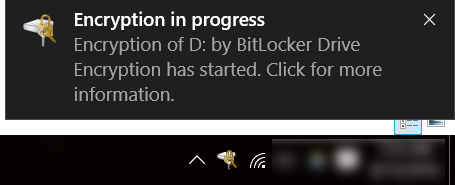
7. The encryption process is going to start. Depending on the speed of the drive/number of files it may take a while.
8. After reboot, when you will want to access the Encrypted drive you will be prompted for the password/smart card.
Enjoy!